How to Build a Simple CSV Parser with Lightning Web Components
Read a CSV file in the browser with FileReader, turn its header row into datatable columns and preview the rows in Salesforce, with no Apex and no third-party library.

I first published this tutorial in January 2023 and updated it in October 2026 for API version 67.0, the current sf CLI and the parser's known limitations.
On Salesforce projects you often need to let someone upload an Excel export or a CSV file and do something with its contents. The usual first idea is a third-party CSV library. In Salesforce that means loading it as a static resource, where versioning and updates are a bit awkward. For simple files, a few lines of plain JavaScript are enough, so in this post we build our own small CSV parser as a Lightning Web Component (LWC).
The component lets a user pick a .csv file, reads it in the browser and shows the rows in a lightning-datatable. It is a preview: nothing is sent to the server and no records are created. The full source is on GitHub: https://github.com/avnishyadav25/CSV-Parser-with-LWC
What we are building
One LWC bundle called createCSVTotable with three files:
| File | Job |
|---|---|
createCSVTotable.html |
A card with a file input and a datatable |
createCSVTotable.js |
Reads the file and parses the CSV |
createCSVTotable.js-meta.xml |
API version and the Lightning pages it can be placed on |
The flow is short: the user picks a file, FileReader reads it as text, the first line becomes the table columns, and every other line becomes one row object.
Uploading a CSV file
We start with the file upload, because nothing can be parsed until the file is available. Salesforce gives us a standard base component for this, lightning-input. With type="file" it renders a file picker (with drag and drop), and accept=".csv" limits the picker to CSV files.
Here is the whole template. The datatable at the bottom is explained further down.
<template>
    <lightning-card title="CSV To Datatable" icon-name="doctype:csv">
        <div class="slds-p-around_medium">
            <lightning-input type="file" label="Please upload a UTF-8 encoded, comma separated .csv file" accept=".csv"
                onchange={handleCSVUpload}>
            </lightning-input>
        </div>

        <div style="height: 500px">
            <lightning-datatable key-field="Id" data={data} columns={columns} hide-checkbox-column>
            </lightning-datatable>
        </div>
    </lightning-card>
</template>
Reading the file with FileReader
In the JavaScript part of the component we use the FileReader object from the browser's File API to read the upload as text. FileReader works with callbacks, so load() wraps it in a Promise and read() awaits it. That keeps the code readable and gives us one place to catch errors.
This is the component's JavaScript as it is in the repository. I removed the commented-out debug lines and one leftover console.log of the headers so it is easier to read; the logic is unchanged.
import { LightningElement } from 'lwc';

export default class CreateCSVTotable extends LightningElement {
    columns = [];
    data = [];

    handleCSVUpload(event) {
        const files = event.detail.files;
        if (files.length > 0) {
            const file = files[0];

            // start reading the uploaded csv file
            this.read(file);
        }
    }

    async read(file) {
        try {
            const result = await this.load(file);
            // execute the logic for parsing the uploaded csv file
            this.parseCSV(result);
        } catch (e) {
            this.error = e;
        }
    }

    async load(file) {
        return new Promise((resolve, reject) => {
            const reader = new FileReader();

            reader.onload = () => {
                resolve(reader.result);
            };
            reader.onerror = () => {
                reject(reader.error);
            };
            reader.readAsText(file);
        });
    }

    parseCSV(csv) {
        // parse the csv file and treat each line as one item of an array
        const lines = csv.split(/\r\n|\n/);
        // parse the first line containing the csv column headers
        const headers = lines[0].split(',');
        // iterate through csv headers and transform them to column format supported by the datatable
        this.columns = headers.map((header) => {
            return { label: header, fieldName: header };
        });
        const data = [];

        // iterate through csv file rows and transform them to format supported by the datatable
        lines.forEach((line, i) => {
            if (i === 0) return;

            const obj = {};
            const currentline = line.split(',');

            for (let j = 0; j < headers.length; j++) {
                obj[headers[j]] = currentline[j];
            }

            data.push(obj);
        });
        // assign the converted csv data for the lightning datatable
        this.data = data;
    }
}
A file input can accept several files, and event.detail.files is a list. In this use case we only want one file, so the handler takes files[0] and ignores the rest.
Building the CSV parser
Now that we can read the file, parseCSV() turns the text into something the datatable understands. It does three things:
- Split the text into lines. The regular expression
/\r\n|\n/handles both Windows (\r\n) and Unix (\n) line endings, so a file saved from Excel on Windows and one exported on a Mac both work. - Turn the header line into columns.
lightning-datatableexpects columns as objects with alabel(what the user sees) and afieldName(the property to read on each row). Using the header text for both means any CSV shape works without configuration. - Turn every other line into a row object. Each value is stored under its header, so a line
Jane,Doe,Acmeunder the headerFirstName,LastName,Companybecomes{ FirstName: 'Jane', LastName: 'Doe', Company: 'Acme' }.
Because the data is already shaped the way the datatable wants it, there is no extra mapping step before display.
Displaying the CSV contents in a datatable
To show the result we use another base component, lightning-datatable. The data is already in the right format, so all that is left is binding the data and columns properties:
<lightning-datatable key-field="Id" data={data} columns={columns} hide-checkbox-column>
</lightning-datatable>
hide-checkbox-column removes the row selection checkboxes, since we only preview the data. The wrapping lightning-card gives the component a title, an icon and the standard Salesforce look, and the div with a fixed 500 px height lets the table scroll inside the card instead of stretching the page.
When you upload a CSV, for example an export of the standard sample Lead records, the table shows one column per header and one row per line.
The meta XML, updated for API version 67.0
To place the component on Lightning pages, the meta XML sets isExposed and lists the targets. The 2023 version used API version 55.0. Summer '26 is the release that introduced API version 67.0, so the updated file looks like this:
<?xml version="1.0" encoding="UTF-8"?>
<LightningComponentBundle xmlns="http://soap.sforce.com/2006/04/metadata">
    <apiVersion>67.0</apiVersion>
    <isExposed>true</isExposed>
    <targets>
        <target>lightning__AppPage</target>
        <target>lightning__HomePage</target>
        <target>lightning__RecordPage</target>
    </targets>
</LightningComponentBundle>
With these three targets the component shows up in Lightning App Builder for App pages, Home pages and Record pages. The repository on GitHub still has 55.0 in this file; changing that one line is the whole upgrade, because the component only uses lightning-card, lightning-input, lightning-datatable and the browser's FileReader.
Deploying with the Salesforce CLI
The original post did not cover deployment, and the old sfdx force: commands are gone anyway. With the current sf CLI it takes four steps. The repository holds only the component folder, not a full Salesforce DX project, so first create a project and log in to an org (a Developer Edition or scratch org is fine):
sf template generate project --name csv-parser-demo
cd csv-parser-demo
sf org login web --alias csv-demo
sf project generate is still accepted as an alias of the first command. Next, copy the component into the project and deploy only that folder:
cp -R /path/to/CSV-Parser-with-LWC/createCSVTotable force-app/main/default/lwc/
sf project deploy start --source-dir force-app/main/default/lwc/createCSVTotable --target-org csv-demo
If you would rather type the code yourself, sf template generate lightning component --name createCSVTotable --type lwc --output-dir force-app/main/default/lwc creates an empty bundle to paste into.
Finally, open Lightning App Builder in the org, drag createCSVTotable onto an App, Home or Record page, save and activate the page. No Apex classes, Named Credentials, custom settings or permission sets are needed.
Improvements since 2023
This section is new in the October 2026 update. The parser above is deliberately simple, and readers (one in the comments of the original post) found its limits in real files. Here are the four that matter and small fixes for each. They are not in the GitHub repository yet.
1. Commas inside quoted values
line.split(',') splits on every comma. A value like "New Jersey, USA" or "Acme, Inc." ends up in two columns and shifts everything after it. Standard CSV wraps such values in double quotes and escapes a quote inside a value as "". A small quote-aware splitter handles both:
splitCSVLine(line) {
    const values = [];
    let current = '';
    let inQuotes = false;

    for (let i = 0; i < line.length; i++) {
        const char = line[i];

        if (inQuotes) {
            if (char === '"' && line[i + 1] === '"') {
                current += '"'; // escaped quote inside a quoted value
                i++;
            } else if (char === '"') {
                inQuotes = false; // closing quote
            } else {
                current += char;
            }
        } else if (char === '"') {
            inQuotes = true; // opening quote
        } else if (char === ',') {
            values.push(current);
            current = '';
        } else {
            current += char;
        }
    }
    values.push(current);
    return values;
}
It still works line by line, so a quoted value that contains a line break will not parse correctly. If your files have those, a proper parser library loaded as a static resource is the better choice.
2. The empty row at the end
Most tools save a CSV with a newline after the last line. Splitting on newlines then produces an empty string as the last "line", which shows up as an empty row in the table. Filtering out blank lines fixes it. While we are at it, we strip the byte order mark that Excel adds to "CSV UTF-8" files, otherwise it ends up glued to the first header.
3. A row key that always exists
The datatable uses key-field="Id", but most CSV files have no Id column, so the rows have no unique key. Generate one per row instead and point key-field at it. Here is the updated parseCSV() with fixes 1 to 3:
parseCSV(csv) {
    const lines = csv
        .replace(/^/, '')               // drop the byte order mark Excel adds
        .split(/\r\n|\n/)
        .filter((line) => line.trim() !== ''); // no empty rows from trailing newlines

    if (lines.length === 0) {
        this.columns = [];
        this.data = [];
        return;
    }

    const headers = this.splitCSVLine(lines[0]).map((header) => header.trim());
    this.columns = headers.map((header) => ({ label: header, fieldName: header }));

    this.data = lines.slice(1).map((line, index) => {
        const values = this.splitCSVLine(line);
        const row = { _rowKey: `row-${index}` }; // unique key for the datatable
        headers.forEach((header, j) => {
            row[header] = values[j];
        });
        return row;
    });
}
_rowKey is not in columns, so it never shows up as a column. In the template, change the key field:
<lightning-datatable key-field="_rowKey" data={data} columns={columns} hide-checkbox-column>
</lightning-datatable>
4. Show errors to the user
read() catches errors into this.error, but the template never displays it, so a failed read looks like nothing happened. Declare the property, store a readable message, clear it on success and render it:
error;

async read(file) {
    try {
        const result = await this.load(file);
        this.error = undefined;
        this.parseCSV(result);
    } catch (e) {
        this.error = e?.message || 'The file could not be read.';
    }
}
<template lwc:if={error}>
    <p class="slds-p-horizontal_medium slds-text-color_error">{error}</p>
</template>
Put that block inside the lightning-card, under the file input.
What this component does not do
It is worth being clear about the scope. The component previews a CSV in the browser tab. It does not save anything to Salesforce, it does not validate values against field types, and it holds the whole file in memory, so very large files will make the page slow. For a test, use sample data rather than real customer exports.
It also only supports comma-separated, UTF-8 files. Some exports use semicolons or tabs, so a useful extension is a small input that lets the user choose the delimiter and passes it to splitCSVLine() instead of the hard-coded comma.
Where to go from here
We now have a simple CSV upload component that reads the file, parses it with plain JavaScript and shows the result in a Lightning datatable. For a real project this is the starting point, not the end. The next step is business logic: for example an Apex method that takes the parsed rows and creates records for a specific object, with validation and error reporting per row. If you are new to Apex, my Salesforce Apex developer guide covers the basics you need for that part, and the Salesforce interview preparation guide has more on LWC patterns.
The complete source code is on GitHub: https://github.com/avnishyadav25/CSV-Parser-with-LWC
Sources
Verified against the sources below on October 3, 2026. Products and docs change often: check the linked sources if something looks different.
- CSV-Parser-with-LWC (source code on GitHub)
- Original January 2023 post (Wayback Machine copy)
- The Salesforce Developer's Guide to the Summer '26 Release (API version 67.0)
- Salesforce Summer '26 Release Notes
- Salesforce CLI release notes
- Salesforce CLI: sf template generate project / lightning component (plugin-templates reference)
- Salesforce CLI: sf project deploy start (plugin-deploy-retrieve reference)
- Salesforce CLI: sf org login web (plugin-auth reference)
Related posts
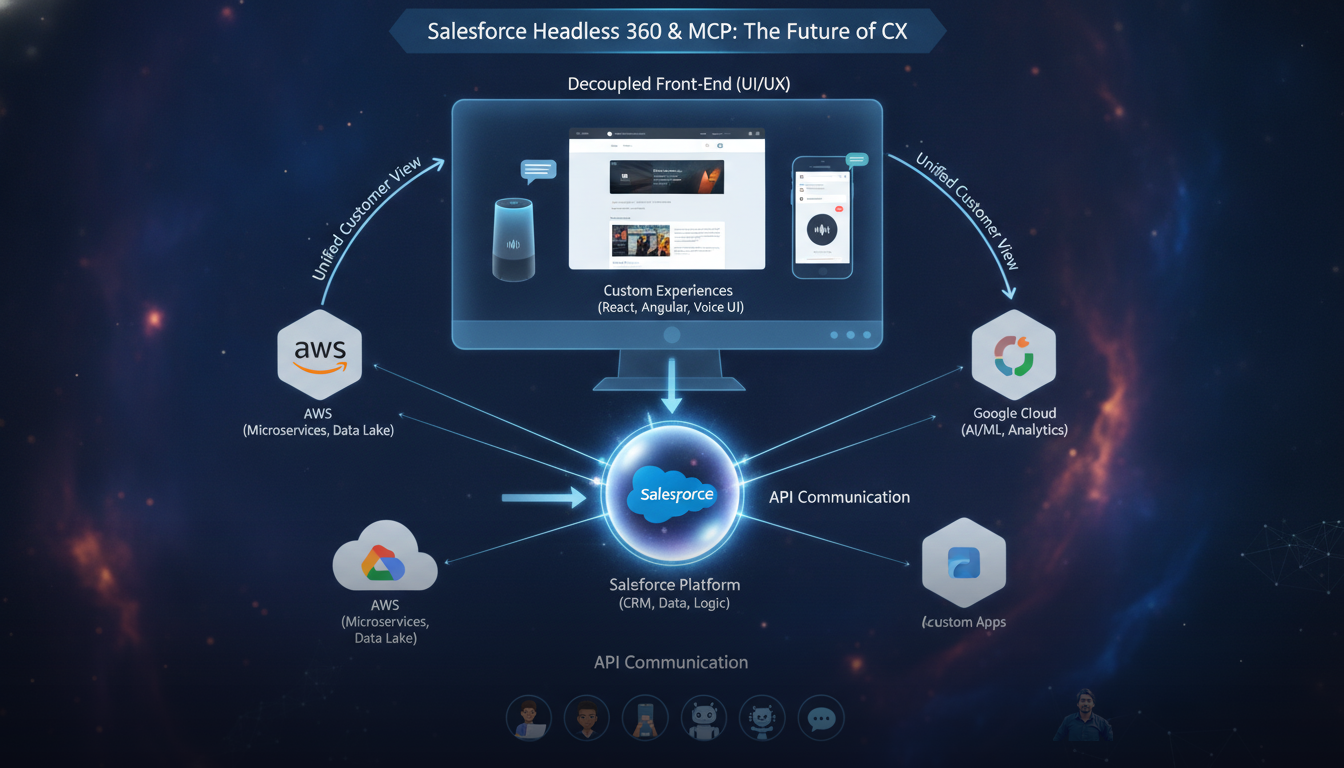
Day 1/15 — Salesforce Headless 360: What Is It & Why Does It Matter?
Salesforce Headless 360 lets you power any frontend—React apps, AI assistants, mobile—with Salesforce APIs and MCP. Here's why it matters and how to start.
Salesforce Interview Preparation: Apex, LWC, Triggers & System Design
A practical guide to Salesforce interview preparation covering Apex, triggers, SOQL, LWC, integration patterns, and system design for developers.
Beyond Einstein: Building a Custom AI Sales Agent in Salesforce
Salesforce's native AI is powerful, but expensive. Here is a technical blueprint for building your own Opportunity Enrichment Agent using Apex, Flow, and external LLMs to automate pre-meeting research.
Comments
Loading comments...